Hi
there! My name is Emillie from The Artsy Addict. Today I’m going to
be doing a tutorial on this cute Merry Christmas banner. Hope you all enjoy and
have a great holiday season!
 Products and Tools:
10– Wood Label Banners
Coordinating Paper, Paint, & Glitter
Wood Glue
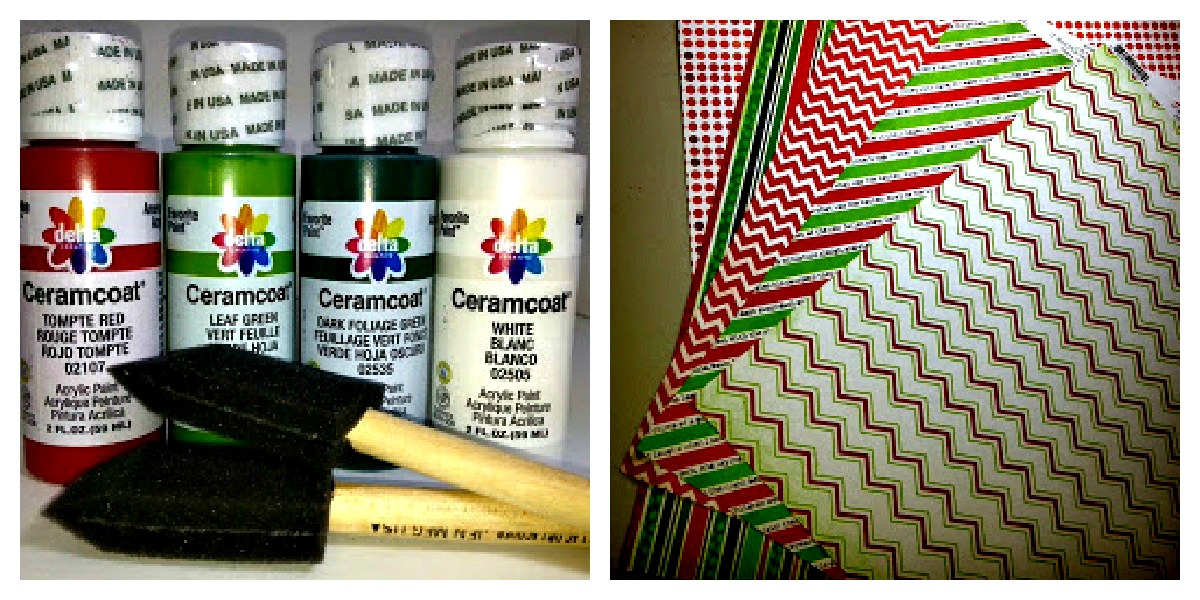
I used these 4 colors of paint and Bo Bunny Mistletoe papers.
Step 1: Trace Block Letters
Tools: Using a pencil to trace your banners
Use the
backside of the paper you want to display when tracing.
Press and
hold the wood with one hand so that your image doesn’t shift while tracing.
With the other hand, trace around the image. Before moving the wood look to
make sure that your trace has not shifted, otherwise when you cut it out, it
will not fit correctly.
Note:
Always trace before painting! If
you forget you'll have tracing marks around the wood and will need to go back
and touch up. It creates an extra step and takes more time.
Also
Note: When working with a large
number of pieces it helps to number the wood and paper so that when you go to
assemble the pieces they match as perfectly as when you traced them. There is
usually some variation with the wood so this helps you to not be playing the
matching game when trying to glue your paper to the wood.
Step 2: Prep Wood
If your wood
has any unsmooth surfaces you’ll want to sand your wood before painting.
Step 3: Paint Wood
Tools: paint
& sponge brush
Paint
1/2 inch border around the front of the banners
Paint
complete sides and backs of banners for a more completed project.
Step 4: Cut Paper
Tools: a pair of
scissors to cut your banners and to do any trimming. I find it easier to cut
detailed areas, etc. with a smaller pair of scissors
Cut
letters right on the line that you traced. Don’t worry if when you lay down
your image on the wood if it is a little smaller or larger than the block. I'll
teach you in a later step how to disguise your imperfections.
Step 5: Distress Paper
Tools: Everyone
has there own technique and tools for distressing. I prefer to use what I call
a cat eye. It is a small inkpad that is in the shape of a cat eye. If you need
to distress with a color you don't have, you can use a technique called dry
brushing. Take your cat eye and
flick around all the edges of the paper. Start very light and if you want more,
you can add. It’s always better to have too little than too much.
Step 6: Glue Paper to Wood
Tools: You’ll
need Darice Wood Glue and sponge brush for this portion of the project.
Sponge
wood glue on the front of one piece of wood at a time. ***Try to use it
sparingly, a thin layer, not too much. It will cause your paper to bubble after
you adhere it, if you put too much on. ***
Once
you put the glue on the wood, line up starting on one side and add your paper.
Be sure to press firmly all along the surface to prevent bubbling. Repeat same
steps on all of your wood.
As
you’re adhering your paper to each piece of wood, continue to go back and put
pressure on areas that may be starting to bubble on past wood. With pressure
you can, in most cases, work out bubbles that seem to form. I have found that
with less glue, fewer bubbles form.
Step 7: Glitter and Glue
Wood
Connection has an awesome tutorial on how to glitter wood, for more information
click the link... Glittering Wood. Now you’ll want to glue your banners together to create a
three-dimensional look.
Step 9: Create Christmas Banner
Tools: Banner
Punches, Smooth cardstock, Stamps, Embossing Powder, Embossing Gun, Mini Hole
Punch, Distressors, Ribbons, 3 Dimensional Adhesives, etc.
Note: If you have
more questions about the "Christmas" banner portion of this project,
you can email me at artsyaddict@live.com.
A BIG THANKS to the Wood Connection for allowing me
the opportunity to guest post! I am also giving away a $25.00 gift certificate to The Wood Connection. You can enter below using the rafflecopter widget.
Until next time... Happy Crafting & Happy
Holidays!
a Rafflecopter giveaway


Super Cute! Very Creative.
ReplyDeleteWhat a sweet deal! I hope I get picked! :)
ReplyDeleteCute idea! Love it!
ReplyDelete